Platform Tour
Here are the main areas of the product to be familiar with:
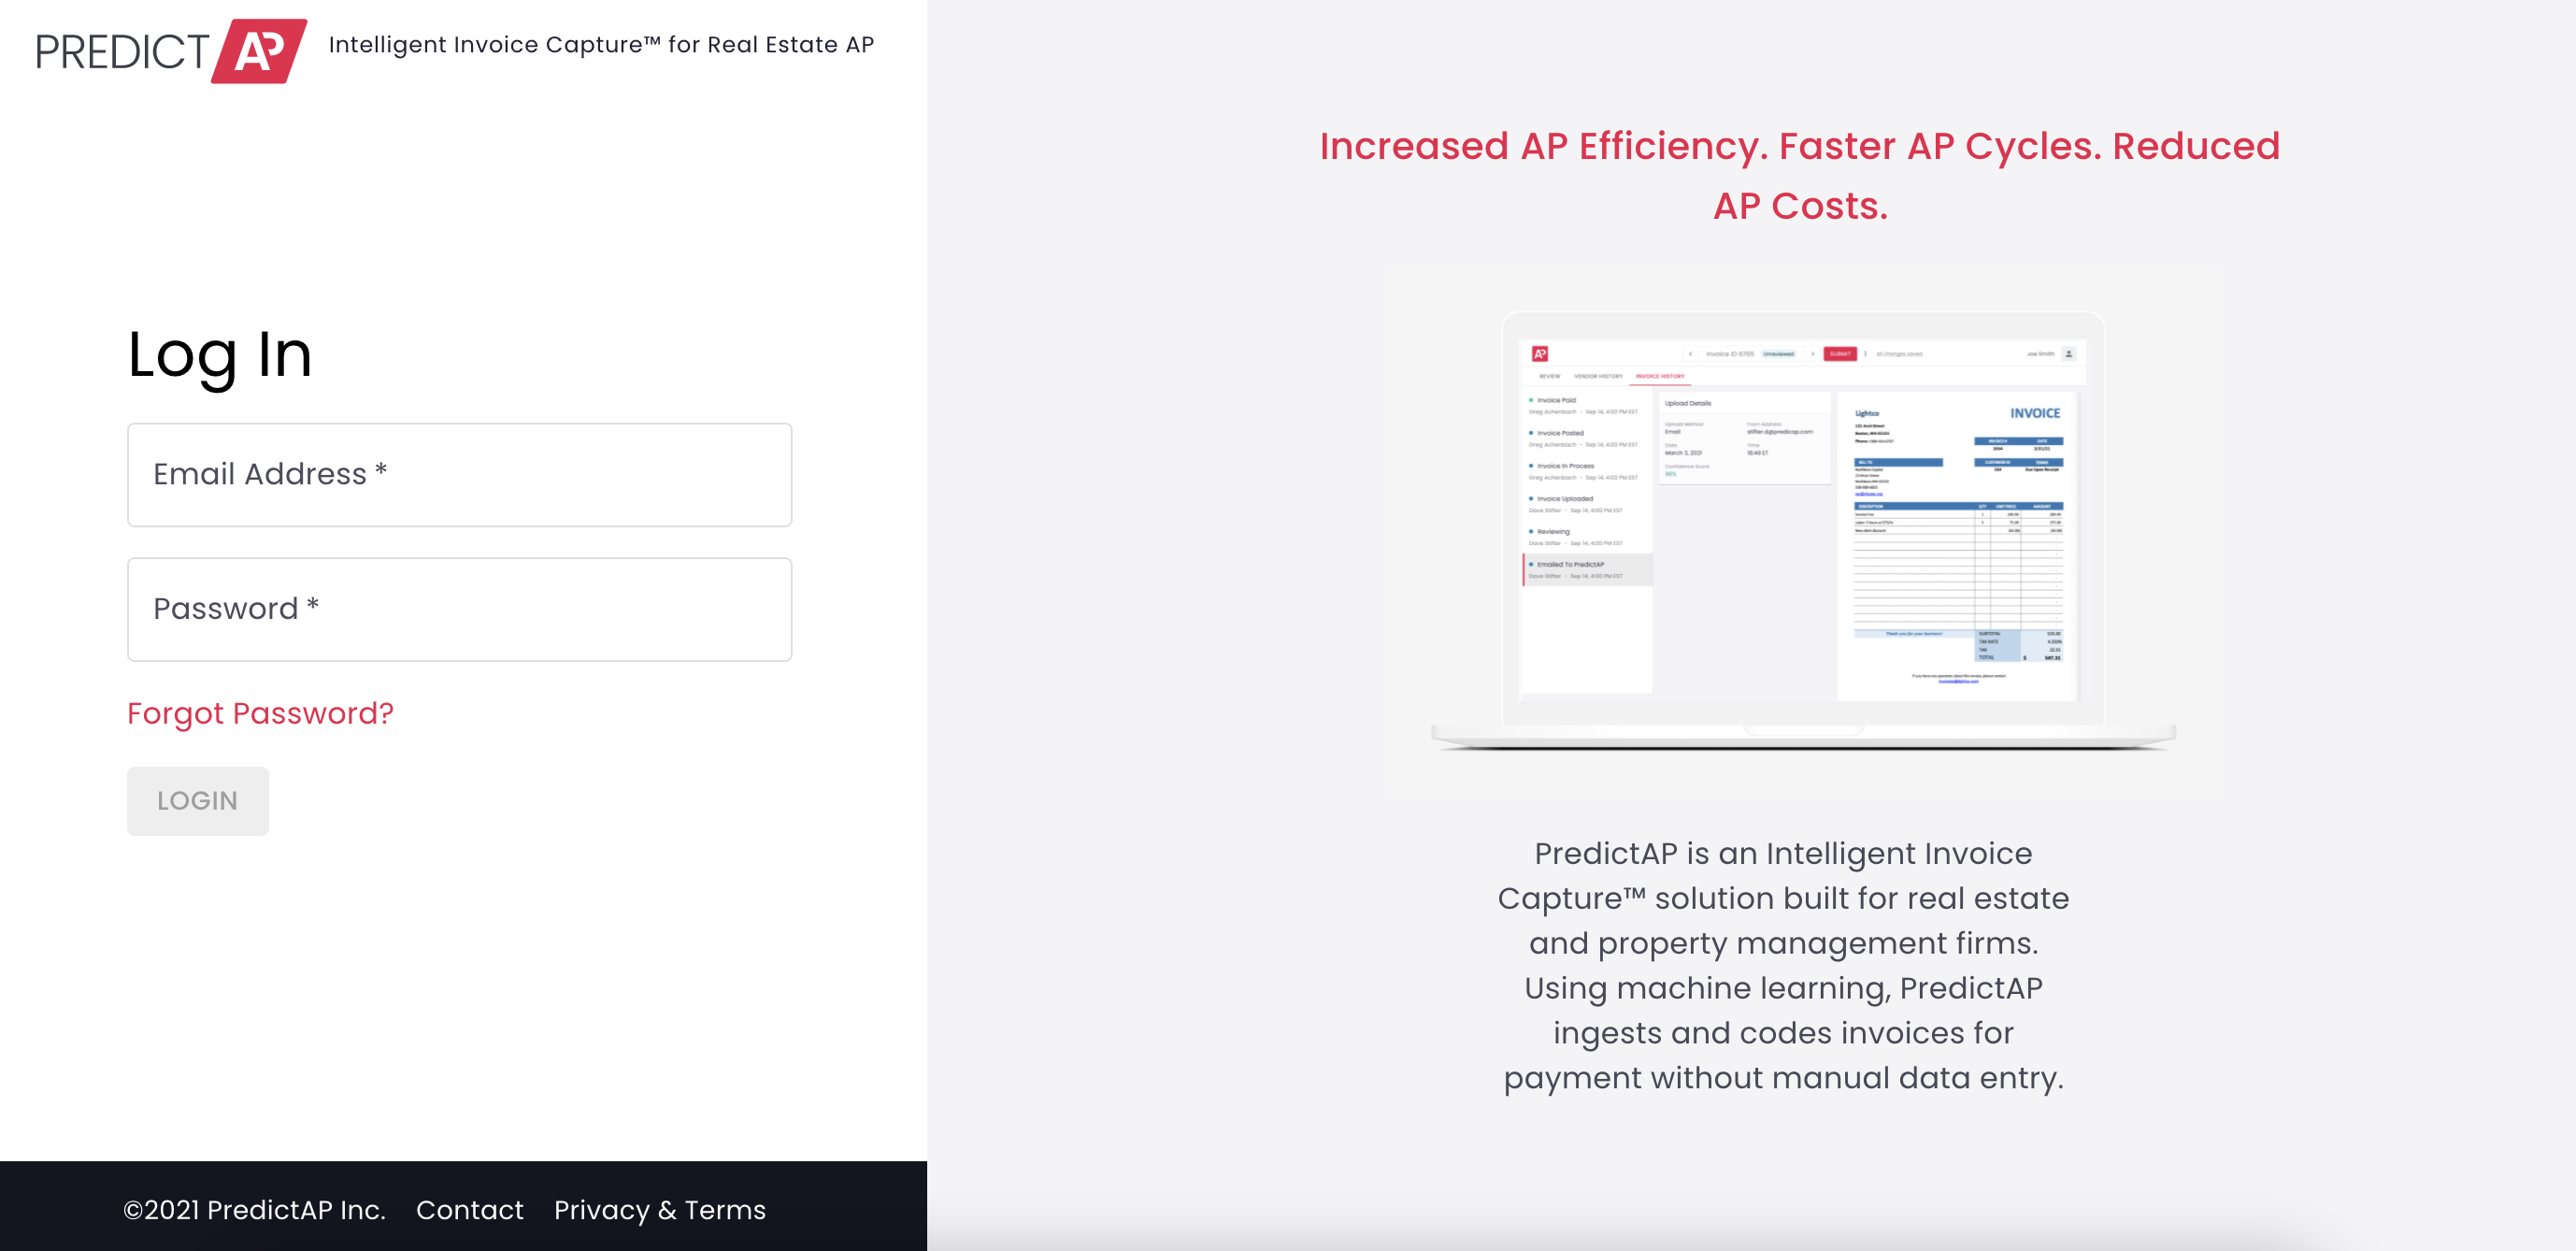
Login Page

Depending on your PredictAP login credentials, you could be taken to a login screen similar to the one above or to your relevant SSO provider login portal to access PredictAP. If you would like SSO implemented into your PredictAP environment please visit this HelpCenter article for more details on how to start the process.
Invoice Queue
After logging in, you will land on the tab of your invoice queue. This view shows all invoices. Within this view, you'll see important key details for each invoice including the vendor name, current invoice status, amount, due date etc. Click on any filter tab to narrow your view by invoice status and view more details.
For more information on this topic please visit this HelpCenter article.
Vendor List and Reporting Access

To the left of the invoice queue, you will see three access points. Click on the Vendors tab to see more details on both active and inactive vendors. Click on the Reports tab to access the email activity report related to the Smart Invoice Inbox. Click on the 'Invoices' icon to return to your invoice queue.
For more reporting functions within PredictAP please visit our Reports Section of our HelpCenter
Invoice Editing Page
The PredictAP Invoice Record is made up of 3 main components:
- Invoice Header
- This section contains the basic invoice information such as vendor, invoice number and date, due date, and total amount.
- Invoice Image
- This is an image of the invoice.
- Invoice Detail
- This is the cost allocation section.

This editing page is where you will review, edit, and submit your invoices to your AP automation system. Note, any updates you make within the editing page are saved automatically so that your progress will not be lost at any point.
Some key editing features within this editing view can be found in more detail within the following HelpCenter articles as well:
1) How to add, delete, condense and edit Vendor Detail Lines
2) Add, delete, and rotate pages on an invoice
3) Vendor History Tab Explained
After the relevant invoice has been reviewed, click the big red 'Submit' icon at the top of the editing page to push this invoice to your AP automation system.